Introduction
As a recent graduate working in a big city, I deeply understand the challenges of renting. Rent is already expensive, and renovation budgets are even tighter. But who doesn't want a home that's both practical and beautiful? After some research, I discovered an amazing furniture hack that transforms ordinary IKEA cabinets into high-end custom cabinets at just one-third of the cost!
Market Research
Recently, when my girlfriend and I planned to move in together, we wanted to renovate our new rental properly. We visited several large home furnishing markets in the area, and the quotes for custom wardrobes shocked us. The cheapest was over 4,000 per linear meter, while better brands charged 6,000-8,000 per meter, marketed as "exclusive customization." A small walk-in closet alone was quoted at 30,000-40,000.
Not only were the prices ridiculous, but we'd also have to wait several months. Sales staff said factory orders were backed up three months, and no amount of rushing would help. After discussing it, we decided it wasn't worth it. Later, while browsing online, we found many users sharing their IKEA cabinet modification experiences, which led us to this money-saving solution.
Modification Approach
The main difference between custom and standard cabinets is the "tailored fit." Custom cabinets perfectly match your home's dimensions, looking high-end and luxurious. But with the right know-how, regular IKEA cabinets can achieve the same effect.
The key lies in three aspects:
First is handling the cabinet's extensibility. While IKEA's standard cabinets have fixed heights, you can achieve any height through filler strips and top cabinets, even matching the ceiling height perfectly.
Second is edge detailing. Custom cabinets look high-end largely because of their perfect edge finishing. With extra attention to edge treatment during installation, standard cabinets can look just as seamless.
Finally, there's hardware selection. Good hardware can significantly improve the cabinet's functionality. Features like silent damping slides and smart electric push-pull systems can be upgraded later.

Specific Steps
Let's start with measurement. This step is crucial - I made a mistake here once due to carelessness. The correct method is: measure from floor to ceiling, accurate to the millimeter. My ceiling height is 2800mm, with 120mm baseboards, so the actual required cabinet height is 2680mm. It's recommended to measure multiple points since many homes don't have perfectly level floors and ceilings.
Selecting the cabinet body is the second step. IKEA's SEKTION series is a good choice, with standard height of 2200mm, depth of 600mm, and widths of 400/600/800mm, etc. We chose the white PAX series as it matches our overall Nordic style. The remaining 480mm height difference is solved with filler strips.
Here's a tip: for ceiling heights under 3 meters, choose 2200mm standard cabinets plus filler strips; for over 3 meters, opt for 2800mm tall models for better stability. A friend with a duplex apartment (3.2m ceiling height) used the taller cabinet model with great results.
Installation requires the most patience. First, draw positioning lines on the floor and repeatedly check the cabinet's level and plumb with a spirit level. Installing filler strips requires precision: it's best to have a carpenter help with precise cutting for vertical and smooth cuts. My first attempt at cutting resulted in crooked edges, so I had to redo it.
Edge treatment is crucial for the final effect. Joints between cabinet bodies and filler strips must be carefully treated with grout. I used Nippon Paint grout, which can be color-matched, making joints invisible. Gaps between cabinets and walls should also be properly treated - I used clear silicone, which is both waterproof and attractive.
Regarding hardware, I think it's worth investing. For drawer slides, I chose Hettich damping slides. Though more expensive, they're very smooth to use, with drawers closing silently. I also switched to damped hinges, eliminating worry about doors hitting walls.
Cost Analysis
Here's a detailed expense list:
Standard cabinet cost 1,200 yuan for the basic model - other colors or materials might cost 100-200 yuan more. Filler strips cost 150 yuan; I bought two in case of cutting mistakes. Hardware cost 200 yuan, mainly for better hinges and slides. Auxiliary materials like grout and silicone cost about 100 yuan.
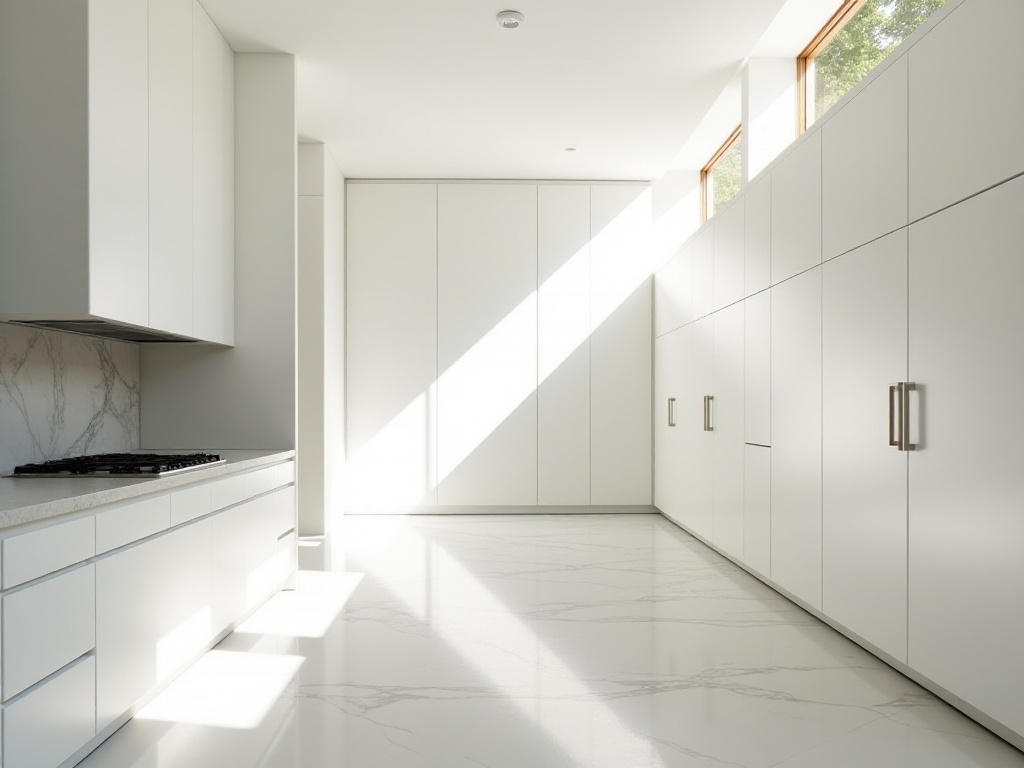
All materials totaled 1,650 yuan, plus about 300 yuan if hiring a carpenter for cutting and installation. The total of 1,950 yuan created a cabinet indistinguishable from custom-made ones that would cost 4,000-5,000 yuan.
Important Notes
Based on my experience, several points need attention:
Always check levelness repeatedly with a spirit level before installation. My first installation had issues with door closure due to uneven flooring, requiring lengthy adjustments.
Filler strip material should match the cabinet body. Initially, I bought cheaper filler strips to save money, but the slight color difference was noticeable and bothered me until I switched to original matching strips.
If installing yourself, get help. Working alone was exhausting and balancing large furniture pieces alone is difficult. Efficiency improved dramatically when my roommate helped.
For ceiling heights over 3 meters, avoid too-long filler strips. My cousin's installation showed slight warping over time with long strips. For heights over 3 meters, choose taller cabinet models directly.
Practical Advice
After modification, this solution perfectly solved storage issues. The top space is ideal for seasonal items - I store winter down jackets and thick sweaters there, accessible with a small stool when needed.
Cleaning is also much easier. Previously, dust would collect on top of cabinets; now, with ceiling-height installation, that's no longer an issue. Being standard units, they're also easier to modify later, unlike custom cabinets which are difficult to change.
This modification is perfect for young renters. Using standard parts means you can disassemble and take them when moving. A colleague did exactly this, moving their cabinet to a new apartment and adjusting the size to fit.
Extended Applications
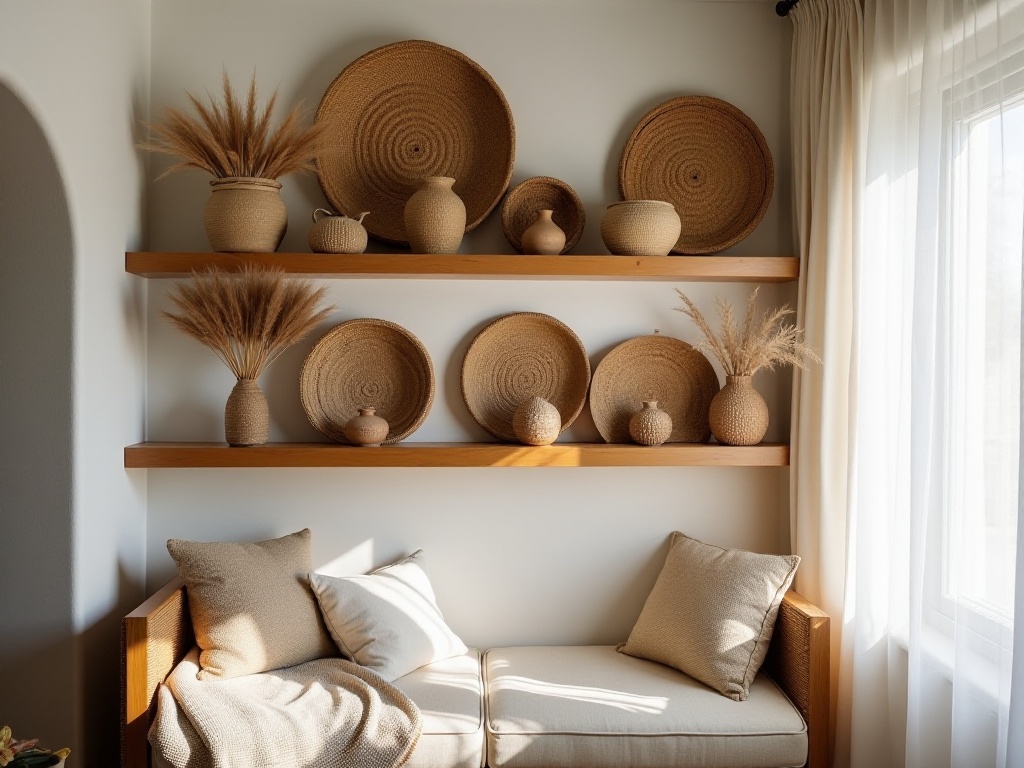
This modification method has many uses. I recently helped my cousin transform her study using this method to create a full wall of bookcases. Previously, her books were randomly placed on open shelves, taking up space and collecting dust. After modification, there's room for all books plus decorative items.
Bedroom wardrobes can be modified similarly. My girlfriend loves shopping for clothes, and regular wardrobes couldn't contain everything. After modification, there's room for all her clothes, organized by season for easy access.
Even living room TV stands can be done this way. A friend transformed their regular TV stand into a full storage wall, accommodating both the TV and storage needs, looking very upscale.
Conclusion and Future Outlook
My biggest takeaway from this project is that with creative thinking, you can create ideal living spaces even on a tight budget. Many expensive-looking effects don't necessarily require big spending. The key is understanding principles and finding suitable alternatives.
I'm currently researching how to transform regular IKEA shelves into industrial-style bookcases, mainly focusing on hardware replacement, adding iron decorations, and creating an aged finish. I'll share detailed steps after completion.
If you're considering furniture modification, start with smaller pieces. Try modifying a small cabinet or bedside table first, then attempt larger pieces once familiar with the process. This builds experience without risking major losses from mistakes.
Looking back, despite the challenges encountered during modification, the final result made all the effort worthwhile. Now when friends visit and compliment the cabinet, asking where it was custom-made, I proudly share this money-saving secret.
Life is about continuous experimentation and exploration to find what works best for you. Perhaps there are areas in your home ready for modification? You might discover unexpected surprises.


