Introduction
Hello everyone, I'm your lifestyle wisdom blogger. Today I want to share a topic that I've been really passionate about lately - how to transform every corner of your home with minimal investment. In this era where space comes at a premium, many young people face the challenge of limited living space. But don't worry - through careful design and clever renovations, even the smallest spaces can become both functional and comfortable. Through years of living experience, I've continuously explored and practiced various home renovation solutions, and today I'll share these proven tips with you.
Space Magic
When it comes to home renovation, space is often the biggest headache. Especially for young people living in big cities, rental spaces are usually quite limited. But did you know? Even the smallest spaces can become spacious and bright with some simple tricks.
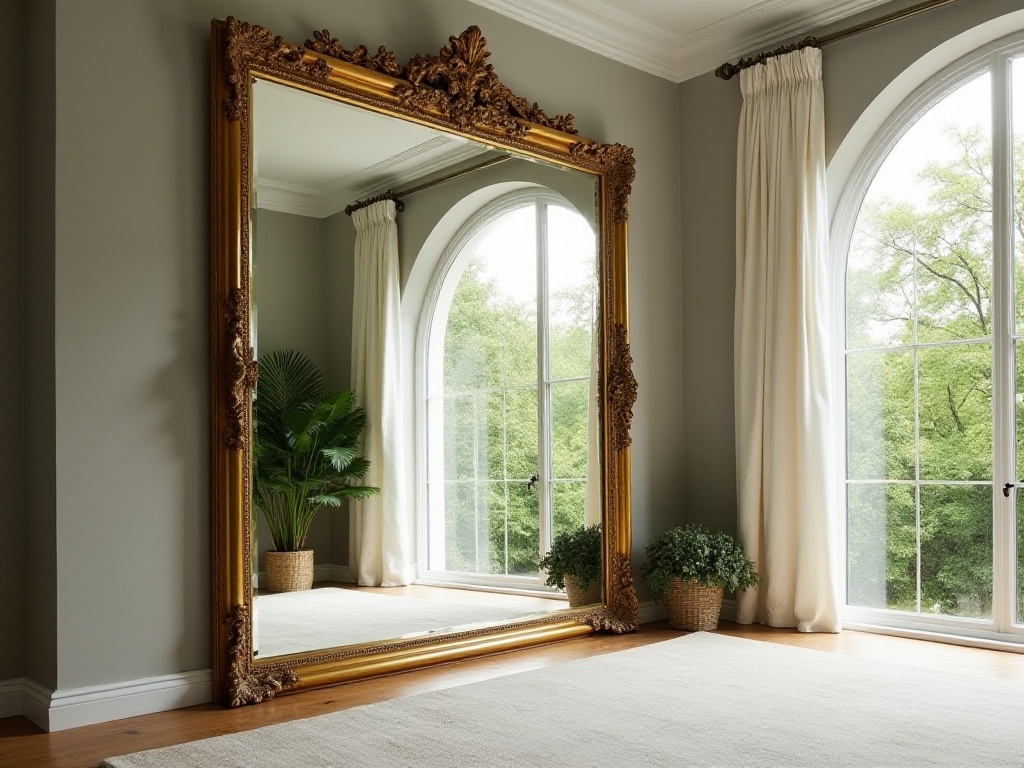
Let's first talk about the clever use of mirrors. My living room was originally only 12 square meters, but after strategically placing two full-length mirrors on the wall, the visual effect immediately doubled. Here's a special reminder: mirror placement is crucial. I suggest placing mirrors opposite natural light sources, which not only expands the sense of space but also makes the entire room brighter. When choosing mirrors, I recommend frameless or thin-framed designs to better integrate with the walls. Additionally, the height of the mirror is important - it's best to extend from floor to ceiling to create maximum visual extension.
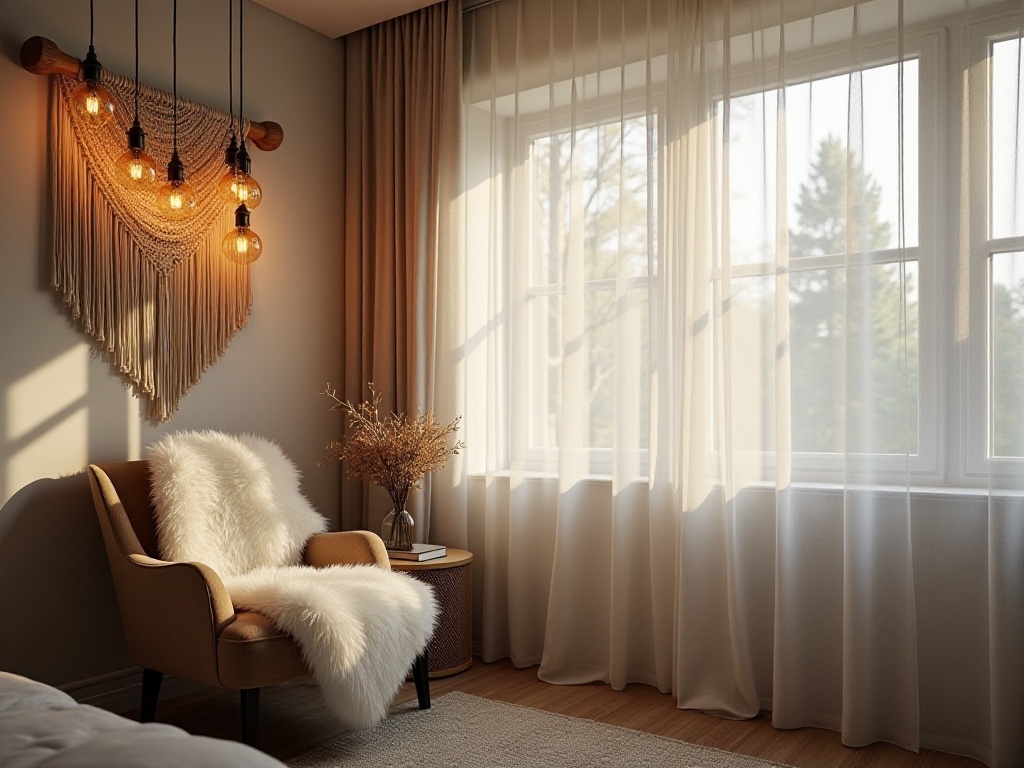
Besides mirrors, lighting is key to expanding spatial perception. I implemented a multi-layered lighting design in my home, including ceiling lights, wall sconces, and decorative lights. Near windows, I chose semi-transparent curtains that protect privacy without completely blocking natural light. At night, I adjust the brightness of different areas according to various scenarios, creating rich spatial layering.
For storage, I highly recommend wall-mounted storage solutions. Can you imagine? My once-empty walls have now become both practical and aesthetically pleasing storage display walls. I used several minimalist floating shelves to display small plants, photo frames, and frequently used books, instantly adding a lived-in feel to the room. These shelves not only store items but also serve as decorative elements. I particularly enjoy placing some green plants on the shelves, filling the entire space with vitality.
For storage, I have another unique insight: making full use of behind-door spaces. Behind the bedroom door, I installed a multi-layer storage rack for small items like scarves and hats. This location is hidden from view but very convenient to use. Behind the bathroom door, I installed a folding drying rack, which doesn't take up much space in the bathroom.
Vertical utilization is also an important technique. I reserved space behind the headboard and sofa for narrow storage cabinets. These storage cabinets are no deeper than 20 centimeters, providing extra storage space without affecting furniture use. In the bedroom, I specially customized a lift-up bed with space underneath for storage boxes, solving the problem of seasonal clothing storage.
Creative Transformations
The renovation case I'm about to share is definitely my proudest work. Remember that awkward small closet I had? After renovation, it's now my personal mini workspace. How did I do it? First, I painted the closet interior a fresh white, then installed a foldable desk panel, and added a cork board for memos. This way, it can be opened for work and closed when not in use, taking up no space at all.
During the workspace renovation, I paid special attention to lighting. I installed an adjustable LED strip at the top of the closet, providing adequate illumination with adjustable brightness and color temperature. Under the desk panel, I added a hidden socket panel for convenient charging of computers and other devices.
To make this small space more practical, I installed small storage boxes on the closet's side walls for stationery and office supplies. These storage boxes use magnetic design and can be adjusted as needed. Around the cork board, I added some hooks for hanging headphones, data cables, and other frequently used items.
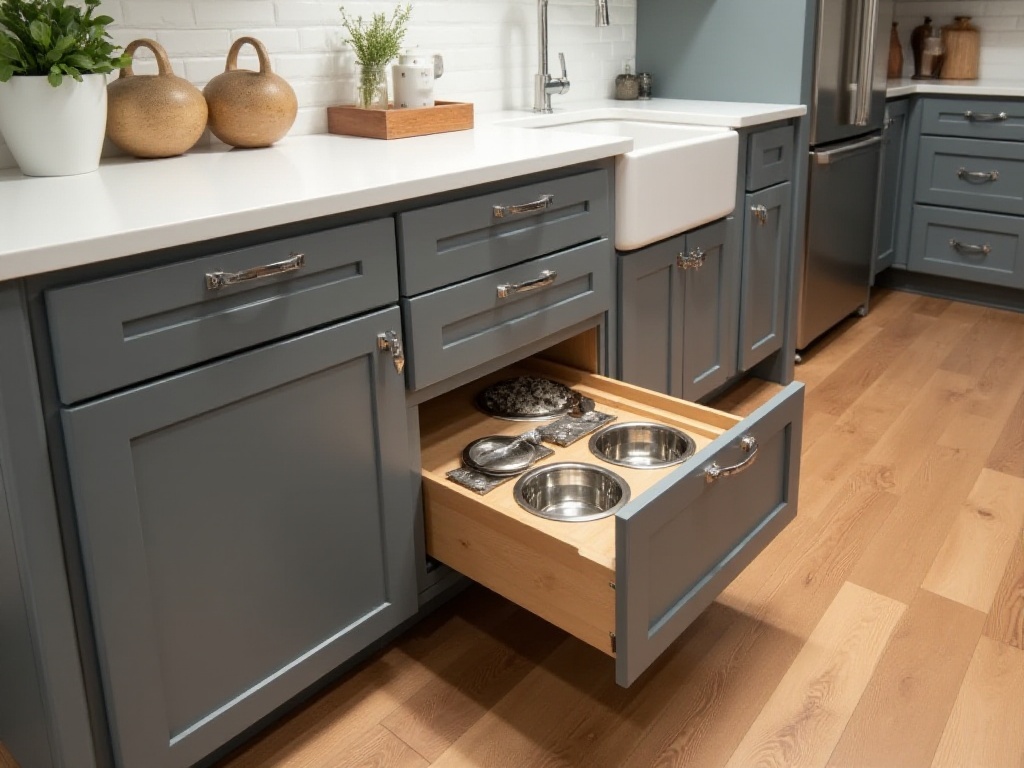
Oh, and for pet owners who struggle with storing pet food and bowls: I transformed a low kitchen cabinet into a dedicated pet supplies storage area. I installed a slide rail on the cabinet door so bowls can be easily stored - pull out when in use, push in when not needed, making it both tidy and convenient.
I put a lot of thought into this pet area design. First, I divided the cabinet interior, with the upper level for food and treats, and the lower level for daily supplies. For easy food access, I specially purchased storage containers with sealing lids to keep dry food fresh and easy to pour. On the inside of the cabinet door, I added a small storage bag for pet toys and cleaning supplies.
What I'm most proud of is the water system design. I installed a small water purifier in the cabinet connected directly to the pet's water dispenser. This ensures water quality and saves the trouble of frequent refilling. The water dispenser's position was also carefully designed, placed on a slightly elevated platform to prevent pets from wetting the floor while drinking.
Old Items, New Life
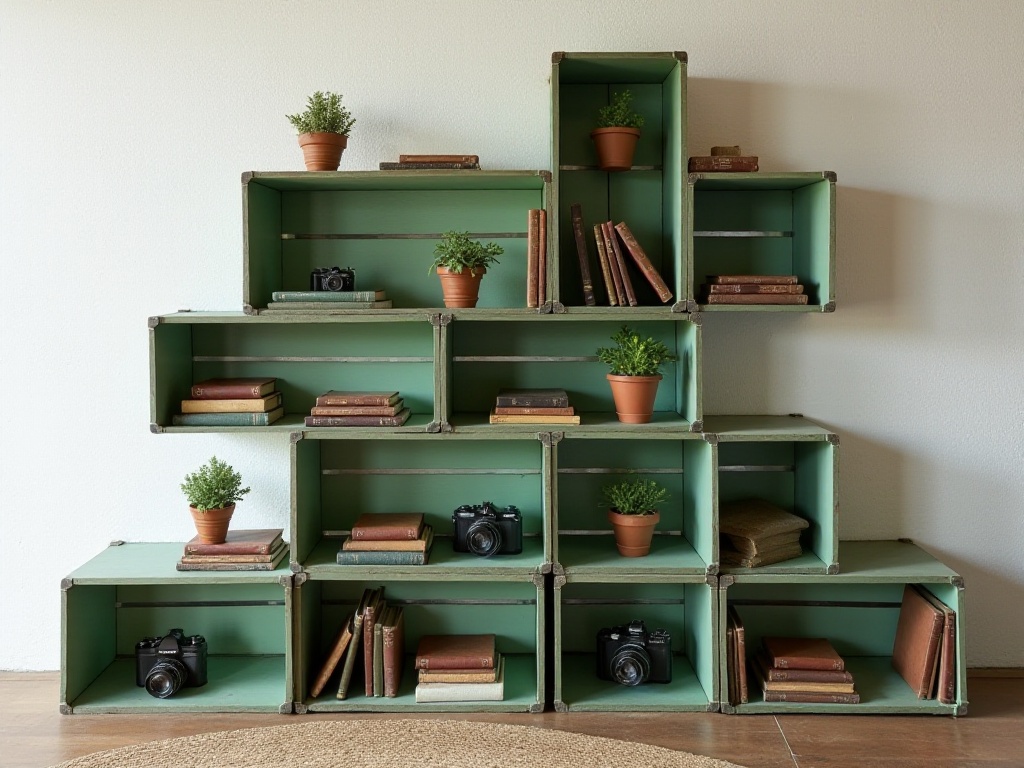
When it comes to furniture renovation, this is the part that excites me the most. You'd never guess that the expensive-looking bookshelf in my study was actually made from stacked second-hand wooden crates. The key is that it cost less than $200. I simply sanded the crates, sprayed them white, and stacked them to the desired height - both eco-friendly and stylish.
During the crate renovation process, I paid special attention to details. First came the sanding process, using different grit sandpapers repeatedly to ensure a smooth surface. Before painting, I applied anti-corrosion treatment to extend durability. To increase stability, I added some hidden connectors between the crates to prevent wobbling or tipping.
This bookshelf is also highly practical. I installed small dividers inside some crates for better book organization. Some compartments even have LED strip lights, creating a great ambiance at night. On top of the bookshelf, I left space for plants, making the entire study more vibrant.
Then there's my desk, which originally had an unsightly burn mark. After covering the entire surface with cork board, not only did it hide the flaw, but it unexpectedly became a super practical notice board. Now I can stick post-it notes anywhere on it - incredibly convenient.
The cork desktop renovation also required technique. I chose high-quality cork board about 3mm thick - not too thin to look cheap, nor too thick to affect use. Before installation, I thoroughly cleaned the desktop with professional cleaner, then applied environmentally friendly adhesive evenly. To prevent the cork from curling, I added special treatment around the edges, using thin wooden strips to press the edges - both beautiful and practical.
Besides serving as a notice board, this cork desktop has other clever uses. I often place hot coffee directly on it - cork's insulation properties are excellent, so there's no worry about damaging the surface. The cork material also reduces noise when typing or placing items.
Artistic Touches
Finally, let's talk about how to make your home more artistic. Many people think decorative paintings are very expensive, but that's not necessarily true. I recently tried a super budget-friendly approach: spray-painting old picture frames pure white and pairing them with simple black and white printed artwork - the effect was surprisingly good.
When selecting artwork, I particularly focused on overall harmony. I chose simple geometric patterns and abstract works to avoid overly complex images. For printing, I selected high-quality art paper to ensure print quality. During framing, I intentionally left space between the artwork and glass for added depth.
To add variety to these decorative pieces, I tried some innovative display methods. For example, combining different-sized frames to create a unique gallery wall. Sometimes I also include postcards or hand-drawn works, changing them regularly to keep home decorations from becoming monotonous.
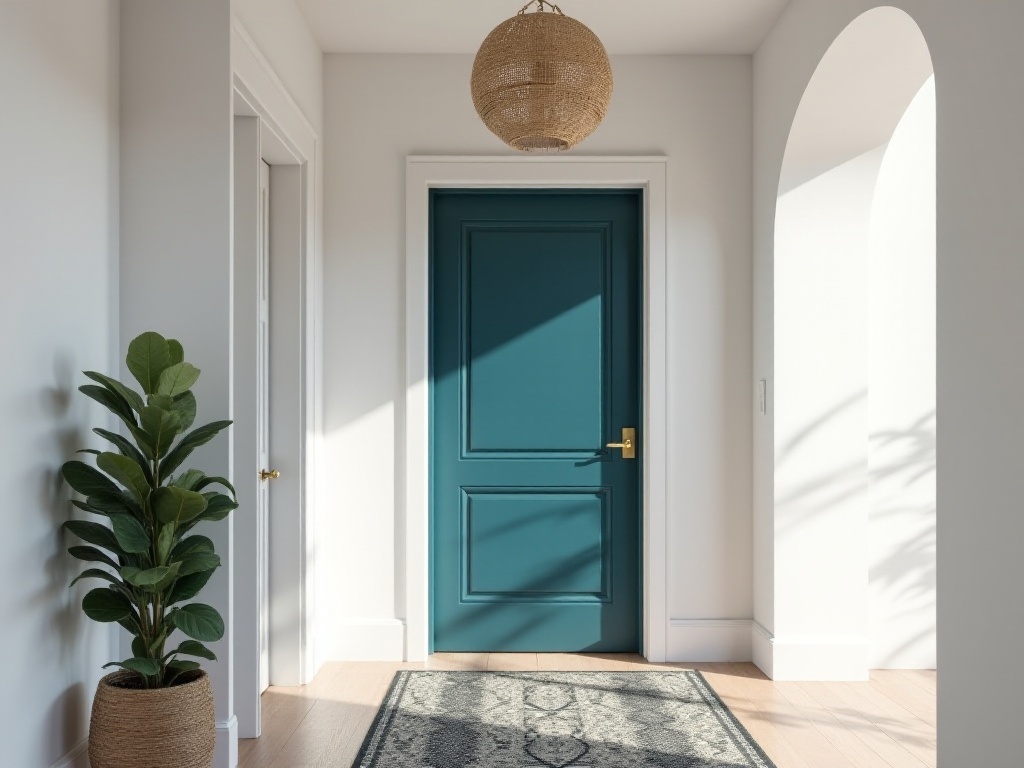
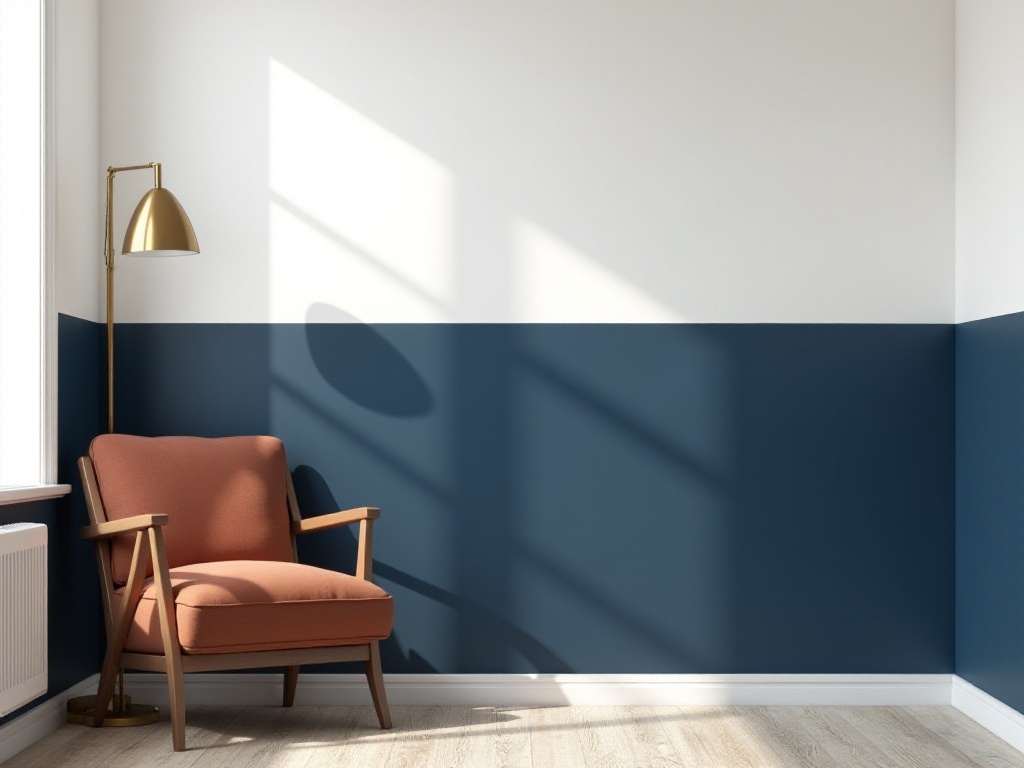
For wall decoration, I highly recommend the "half-wall paint" technique. This means painting only half the wall height, saving paint while creating a designer look. I did this in my entryway, using dark blue for the lower half while keeping the upper half white - the overall effect was surprisingly good.
Color selection is crucial for half-wall painting. I suggest choosing colors with obvious contrast for a more striking effect. During application, pay special attention to the boundary line - use masking tape for straight lines. I also added a thin wooden strip at the boundary to hide potential color differences and add refinement.
Besides traditional horizontal division, I've tried some special designs. Like diagonal divisions or irregular geometric shapes for division. These bold attempts often bring unexpected results. For colors, besides traditional solid colors, I've tried artistic coatings that can create marble-like effects.
Conclusion
Well, that's all for today's sharing. Have you noticed that creating an ideal living space doesn't require a lot of money? The key is to think creatively and find creative points in daily life. By the way, if you have any interesting home renovation experiences, feel free to share them in the comments. Your small ideas might help others who are struggling with space issues.
Through these renovations, I've deeply realized that home renovation isn't just about improving living environment, but also reflects a life attitude. Through these changes, we can make our homes more cozy and comfortable while expressing our personality and taste. Each renovation is a creative practice and a process of self-improvement.
Finally, I want to ask: what do you find most challenging about home renovation? Is it budget constraints? Manual skills? Or aesthetic concerns? Looking forward to seeing your thoughts in the comments. Through everyone's exchange and sharing, I believe we can find more practical and creative renovation solutions to make everyone's home unique.
Remember, home renovation isn't something that happens overnight, but a gradual process. We can renovate according to actual needs and budget, step by step. The most important thing is to have patience and creativity. With careful planning and design, every home can become a unique and cozy haven.
